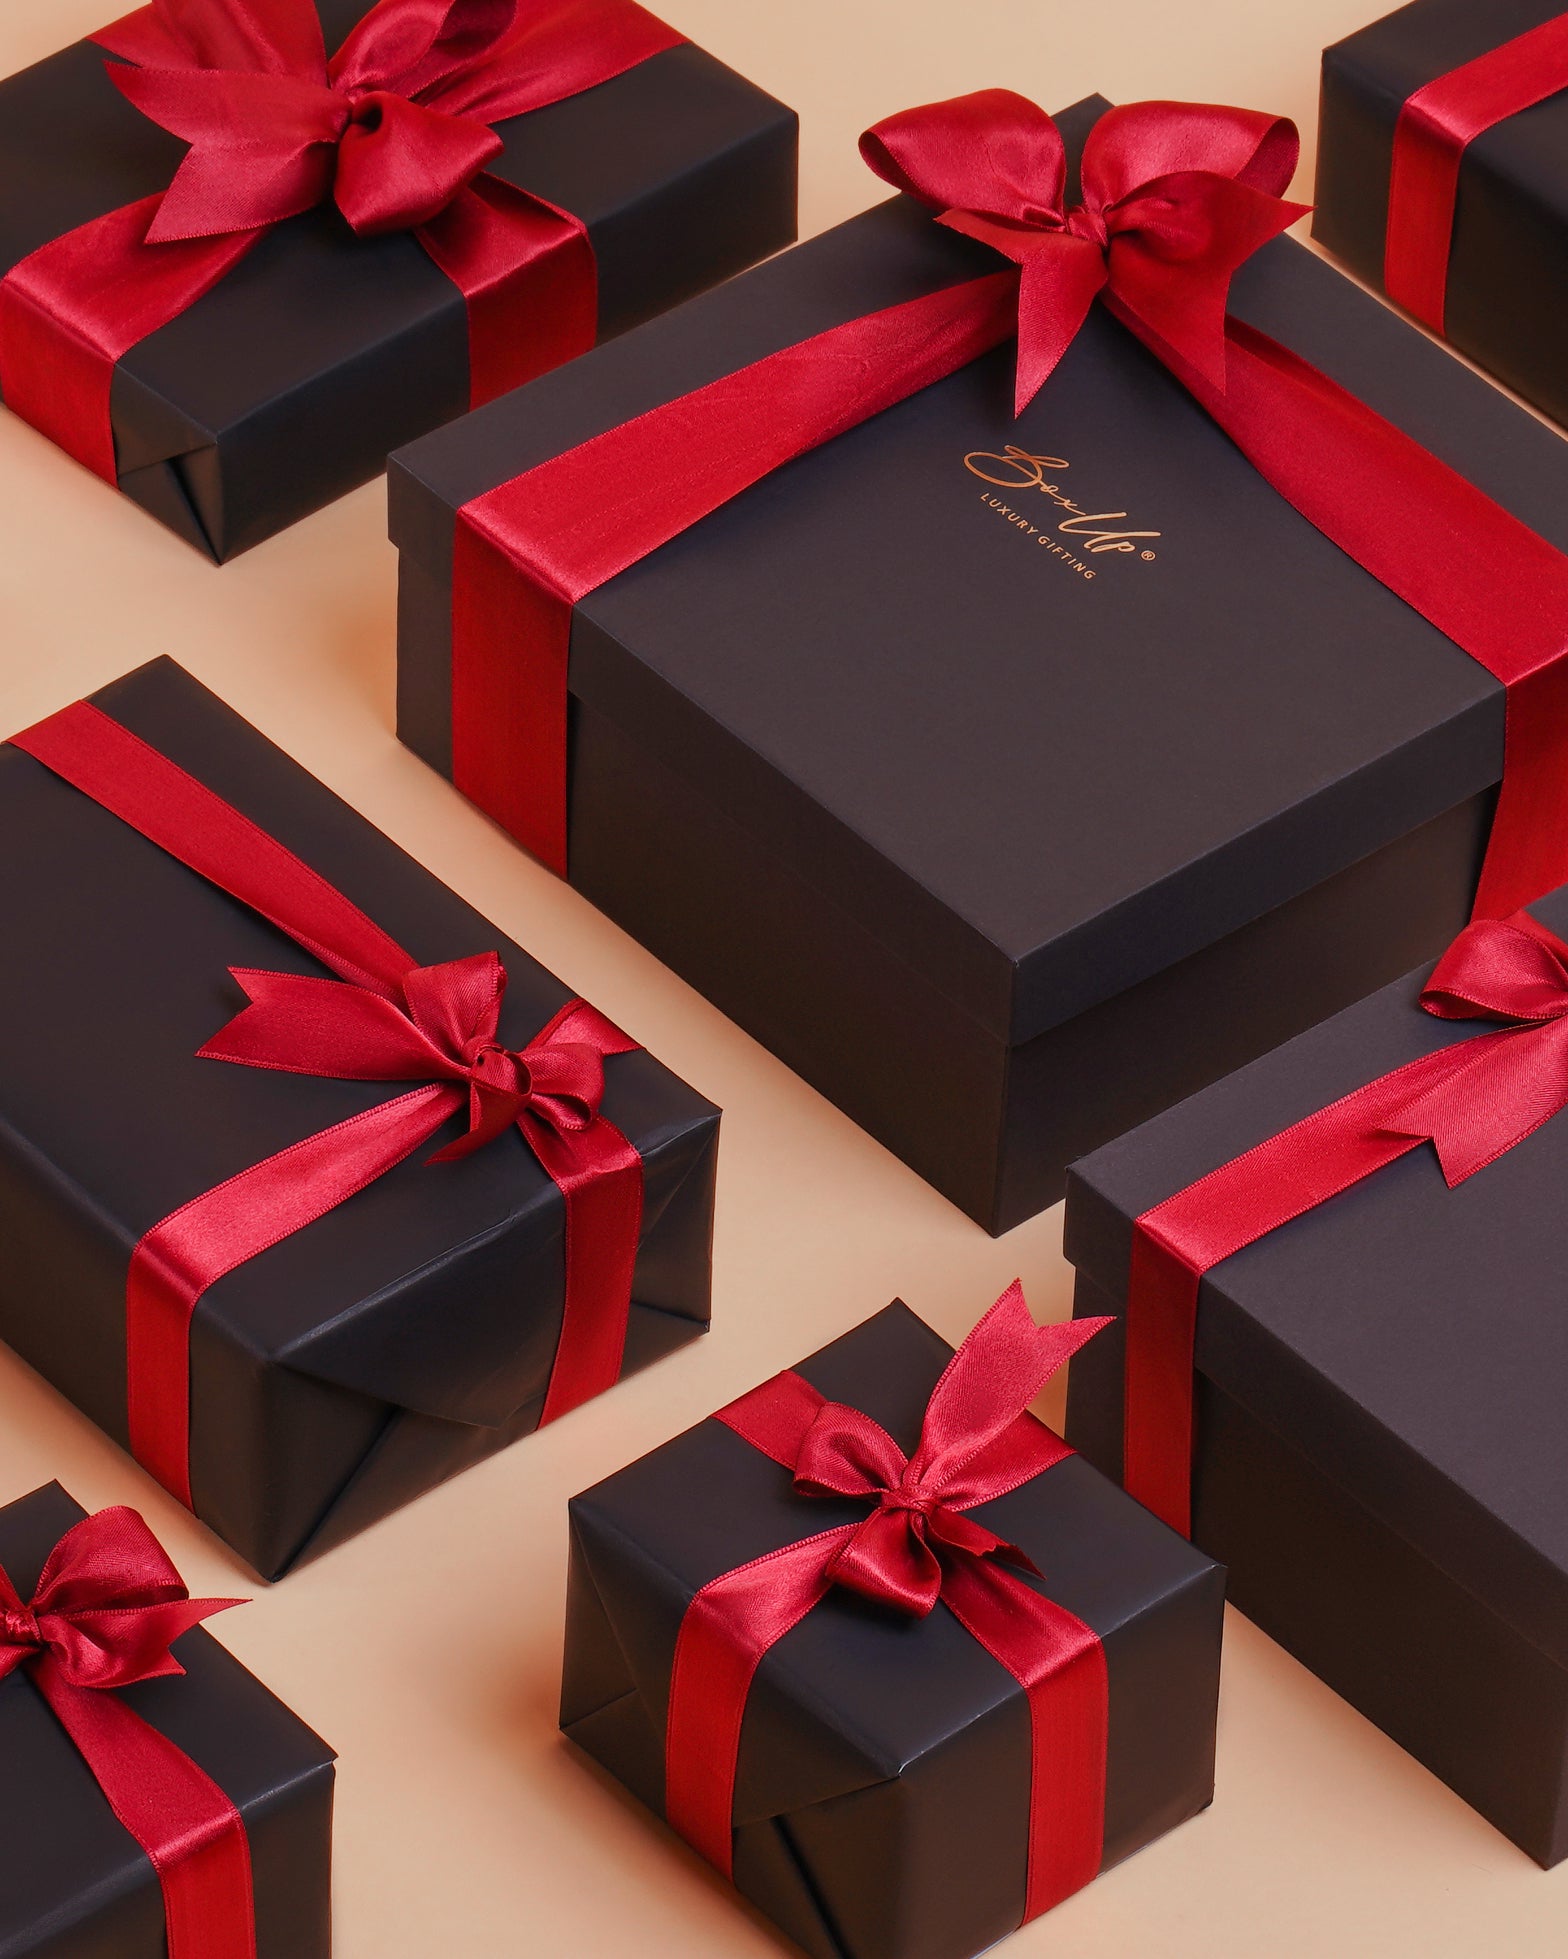


How to Tie a Ribbon on a Gift Box: 3 Easy and Quick Ways

Gift wrapping has been around for a long time and continues to steal the spotlight by making the receiver feel special. While there is an array of chic and attractive gift-wrapping techniques, one easy and seamless style is tying a beautiful bow around your gift box.
Though stick-on bows are garnering popularity due to their easy-to-use features, tying a bow adds a flair of personal touch to the gift. From commercial gift hampers to anniversary gifts for couples, the ribbon tie gift box is a timeless trend that exudes class and never goes out of style!
Wondering how to tie a ribbon on a present in less time? Here is a step-by-step guide on three ways to tie a ribbon to a gift to make it look stunning. Let's dive in!

Method 1: How to Make Ribbon Bows for Gifts?
Step 1: Lay the ribbon throughout the top surface of the box in a horizontal motion. For the bow's tail, leave 4 to 8 inches dangling from the side.
Note: Leaving more ribbon flowing off from the side is preferable to cutting it too short. You can always trim it shorter at a later stage.
Step 2: Draw the remaining ribbon back to the front and underneath the box. Keep the box upright to avoid losing your position. Now, raise the box and tuck the remaining ribbon beneath it. When the ribbon emerges from the other side, place the box down.
Step 3: Fold the ribbons over the box's front. The smaller end of the ribbon should meet the middle of the box after being brought there. Make sure the ribbons are twisted around one another to form a vertical orientation.
Step 4: Raise the box once more. Draw the ribbon's longer end out on the opposite side and into the back of the box. Place the box back down.
Step 5: Reposition your ribbon so that it faces the centre of the box. Measure both ends of the ribbon and cut the ends in an equivalent style.
Step 6: Pull the ribbon at an angle around the leading edge of the knotted portion. Slide it beneath the twisted portion and retract it via the original path. To tighten the knot, pull on both sides of the ribbon.
Step 7: Twist the ribbon in half lengthwise. A tiny loop is created in the middle by crossing the left loop above the right one. The left loop should be pulled through the smaller loop and then pulled tight.
Step 8: Give the tails and loops a little tweaking. You can also flutter up the loops if the ribbon you used was wired. Slice the tips of the tails into angles for a more elegant look.
Method 2: How to Tie a Ribbon Diagonally to a Gift Box?

Step 1: Wrap your ribbon across the upper left edge of the box. The left side of the corner should have 4 to 8 inches dangling off of it. Keep the remaining ribbon on the shaft at the upper edge.
Step 2: Position the ribbon from its spool side with one end behind the upper right corner and the other end down towards the lower right corner.
Quick Tip: To prevent it from falling off, place your thumb covering the ribbon in the upper left corner.
Step 3: Cross the lower right corner and the lower left corner with the ribbon. To prevent the wraps from slipping off the edge, keep them intact and secure.
Step 4: Now is the time to make any necessary adjustments to the tied ribbon positions at every corner. Drag them away from the edges if they appear to be sliding off.
Step 5: Move both ribbons to the upper left corner's centre. After measuring the spool ribbon contrary to the opposing ribbon, trim it to the same length.
Step 6: Pull on each end of the left ribbon to fasten it after crossing it over and under the right. Similar to tying a shoelace, wrap both ribbons into loops and pass the right one over the left.
Step 7: Once the present ribbon bow is snug and securely fastened, trim any extra ribbon by cutting it off at the edges. Cut them into grooves or at angles for a more elegant look.
Method 3: Curating an Exotic Ribbon Bow with a Woven Look

Step 1: Cut four ribbons long enough to run longitudinally around the box with an extra 2 inches.
Quick Tip:
- Use two pieces of narrow ribbon and two fragments of slightly broader ribbon for a distinctive appearance. An alternative would be to use two different colours.
- Ribbon that is wired or sturdy is not a wise choice. For optimal outcomes, use a balloon or slender satin ribbon.
Step 2: As in the prior step, employ the identical ribbon. This time, cut the ribbon to a length of 2 inches plus sufficient to wrap throughout the box across the width.
Step 3: After taking out the four long ribbons, place them on the tabletop. Ensure that they are placed no farther than ¼ inch apart and that they are adjacent to one another.
Note: If you are incorporating different widths or colours, make sure to switch them.
Step 4: Orient your gift box in a way so that its down face aligns with the ribbons.
Step 5: Don't tape all the ribbons at once; instead, encase and secure each one individually. Make sure the ribbons are perfectly secure around the box by pulling them tightly. The ends of the ribbon will lay over one another by around one inch.
Quick Tips:
- Take care not to tape the ribbons to the box itself, but only attach the top band to the lower ribbon.
- As an alternative to dual-sided tape, you may opt for glue.
Step 6: Attach a piece of double-faced tape to the tip of every short ribbon you have. Ensure that the ends of the ribbons are in opposition to the initial long ribbon by arranging them directly above it.
Step 7: Turn the package upside down and pass the short ribbons between the first row of ribbons.
Step 8: Turn the box over once more. Put a piece of two-sided tape on the tip of every ribbon and press it onto the box's back, one at a time. Verify that the string's ends are aligned.
Common Mistakes to Avoid While Tying a Ribbon to a Gift Box
- Lack of Symmetry: A bow's asymmetrical feature has the power to transform or break down your present completely. Keep an eye on the fact that the loops are the same size.
- Positioning Outside the Centre: Ensure the ribbon bow is properly aligned, whether you tie it in the corner or the centre.
- Inadequate Bow Tightening: Accurate bow fastening requires extreme caution. Ribbon tying can go wrong with merely a tiny bit of left-outer space.
Time to Give Your Gift Box a Perfect Makeover!

Whether it's packaging gifts for boyfriend or wrapping unique gifts for men, a ribbon bow adds an essence of personal value and care. Go ahead and use your imagination! Consider including a lovely tag, a pom-pom, or an eclectic fringe under the ribbon for an attractive flair.
For more inspiration on gift wrapping, head out to BoxUp Luxury Gifting. From exotic hamper designs to shipping, experience hassle-free gift curation!
FAQs
Q1. How can I instantly enhance the look of my gift box?
Some of the quick hacks to improve the overall beauty and emotional value of your gift are adding an adorable present ribbon bow, sticking a handwritten note, or attaching cute motifs.
Q2. Are gift-wrapping ribbon techniques easy?
Yes, you can easily follow our step-by-step guide to attain any present ribbon bow style in no time.
Q3. What is the best ribbon for making gift bows?
Velvet, grosgrain, and silk ribbons are all excellent options for tying bows. Pick a colour that complements the design of your packaging material.